Turn a plain screenshot into an image worth sharing
Add a background to your screenshot, give it padding and rounded corners, put a soft shadow behind it and size the canvas for a slide, a post or a README, all in the same editor that took the capture. Choose a solid color, a linear, radial or mesh gradient, a pattern, noise, your own image or a transparent canvas, then save the look as a preset for next time.
A raw capture has hard edges and no breathing room
Drop a bare screenshot into a slide, a social post or a product page and it tends to merge with whatever surrounds it. There is no margin, the corners are square, and a white interface on a white page has no visible edge at all.
A background fixes that in a few moves: space around the screenshot, a backdrop with some color or texture, softened corners and a shadow that separates the two. That is the whole job of a screenshot beautifier, and InnoShot builds it into the editor, so you go from capture to finished image without saving the file, switching apps and uploading it somewhere else. The gradient, mesh and pattern options double as a background generator, so you do not need a stock backdrop.
It is all non-destructive. The background, padding, corner radius and shadow belong to the composition rather than the pixels, so you can change the backdrop or remove it entirely at any point and the screenshot underneath is untouched. Exports carry no watermark.
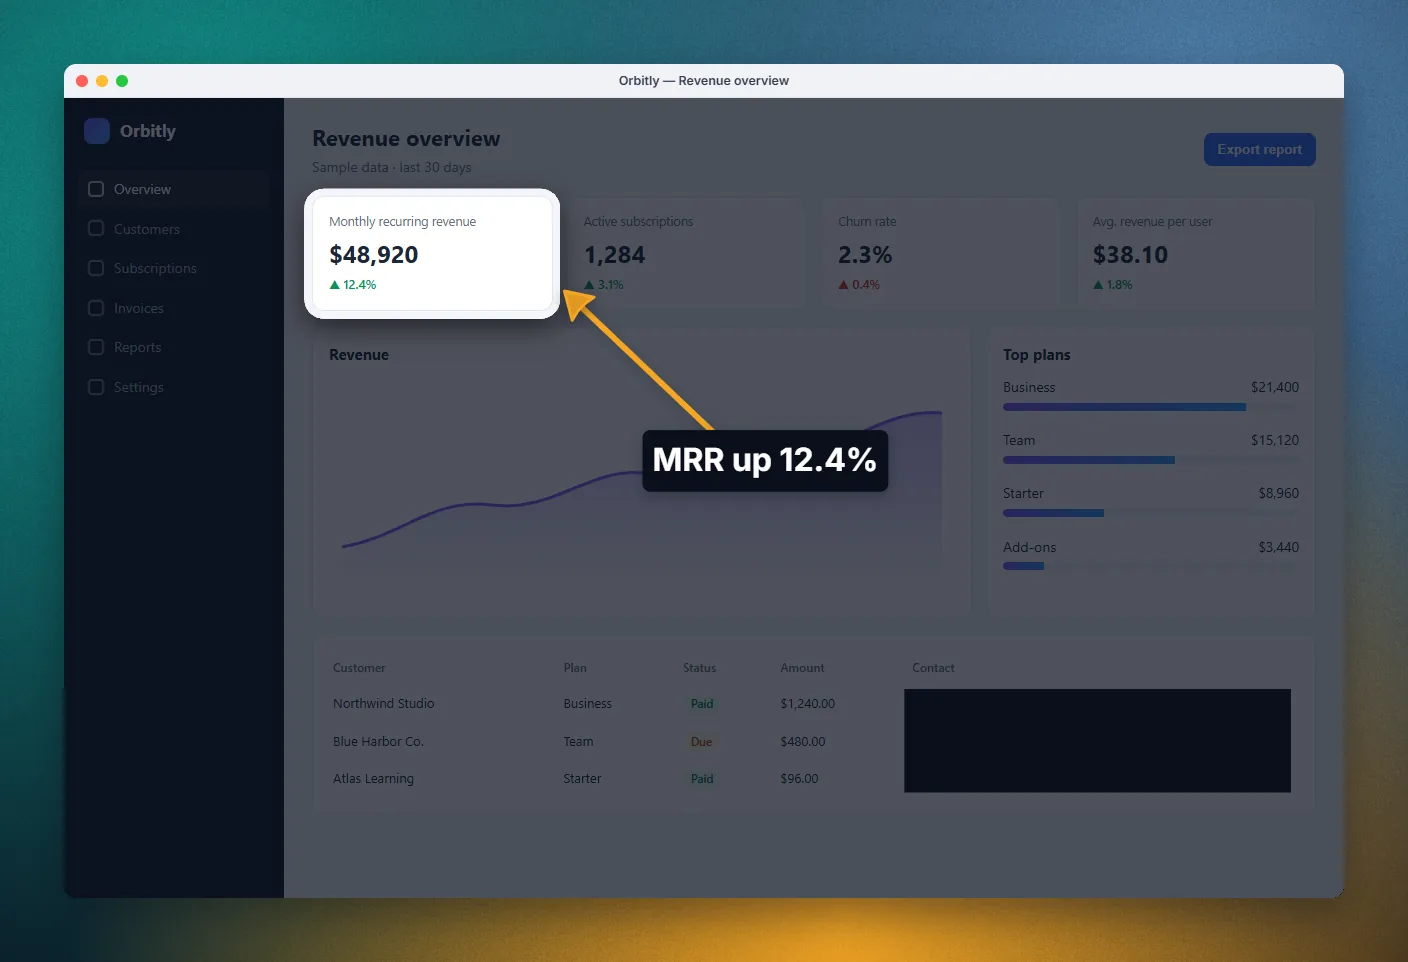
How to add a background to a screenshot
-
1
Capture and open the editor
Take the screenshot with any capture mode, or reopen one from your history. It opens in the InnoShot editor.
-
2
Pick a background
Choose a solid color, a linear, radial or mesh gradient, soft blur, a pattern, noise, an uploaded image or transparent. Start from a preset if you want a quick result.
-
3
Set the canvas size
Choose an aspect preset that matches where the image is going, or enter a custom size.
-
4
Shape the screenshot
Adjust padding, scale and alignment, round the corners, and add a border and a shadow. Rotate or tilt it for a more dynamic layout.
-
5
Save the look and export
Save the combination as your own preset, then export. Choose PNG or WebP if the background is transparent.
Everything a screenshot beautifier needs, in one panel
-
Backdrops of every kind
Solid colors, linear and radial gradients, multi-color mesh gradients, soft blur, patterns and fine noise, or upload your own image. A transparent canvas lets the result sit on any page or slide.
-
Sized for the destination
Aspect presets shape the canvas for where the image is going, and a custom size covers anything else.
-
Rounded corners, border and shadow
Round the screenshot's corners, add a border to define its edge, and cast a shadow so it lifts off the background.
-
Padding, scale and position
Control the space around the screenshot, how large it sits on the canvas and where it is aligned. Rotation and tilt add an angled look, and background blur and opacity calm a busy backdrop.
-
3D tilt
Tilt the framed screenshot in perspective with one click (left, right, top or hero) or set your own angles, for a product-shot look. The canvas keeps its size, and the shadow follows the tilted edge.
-
A precise color picker
Enter colors as HEX, RGB or HSL, keep brand colors in saved palettes, reuse recent colors, or pick any color on your screen with the eyedropper, such as an accent from the screenshot itself.
-
Presets you can save
Start from an editable background preset, then save your own combination of backdrop and composition to reuse. Settings lets you pick a default background preset.
Learn more about presets you can save
Good to know
A few details decide how the finished image behaves once you export it.
- Transparency needs PNG or WebP
- A transparent background, and with it the see-through area outside rounded corners, survives only in PNG and WebP. JPEG cannot store transparency, so pick a solid, gradient or image background if you need a JPEG.
- Effects stay inside the screenshot
- Spotlight, glass, blur and other effect layers are clipped to the screenshot and never spread onto the background. Arrows and text are not clipped, so a label can sit on the background and point into the image.
- Recommended sizes change
- Social platforms and slide templates update their preferred image sizes from time to time. When the exact size matters, check the destination's current guidance and set a custom size.
- Uploaded images stay local
- An image you upload as a background is stored in your browser with the project. It is not sent anywhere.
Screenshot background questions
Something else? The full FAQ and the documentation go further.
How do I add a background to a screenshot?
Open the screenshot in the InnoShot editor, choose a background type in the background studio, then set the canvas size and padding. Corner radius, border and shadow finish the look. The background is part of the composition, so you can change it at any time before you export.
How do I give a screenshot rounded corners?
Set the corner radius in the composition controls. For rounded corners with nothing behind them, choose a transparent background and export PNG or WebP: the area outside the corners stays transparent. With any other background, that background shows around the corners.
Can I match the background to my brand colors?
Yes. Enter colors as HEX, RGB or HSL, save brand colors in a palette, or use the eyedropper to pick a color from your screen. Save the finished combination as a custom preset to reuse it on the next screenshot.
Can I add a background without a screenshot beautifier?
You can build the same look by hand in presentation or design software: place the screenshot on a colored or gradient shape, round its corners with a mask, add a shadow and size the canvas. It works, but you export the capture first and rebuild the layout for each new screenshot. In InnoShot the background is added right after capture and can be saved as a preset.
Does InnoShot add a watermark?
No. Exports carry no watermark. InnoShot is free, needs no account, and makes the image in your browser without uploading it.
Keep reading
- Backgrounds and composition Every background type and composition control explained.
- How to add a beautiful background to screenshots Choosing colors, padding and shadow that suit the screenshot.
- Browser mockups Wrap the screenshot in a browser or device frame before adding a background.
- Export formats Which format keeps transparency and which keeps files small.
More in Beautify
Make the next screenshot presentation-ready
Backgrounds, corners and shadows are part of the free editor, with no watermark and no upload.
For Google Chrome on desktop. Coming to the Chrome Web Store.